10 Essential Equipment for Beginner Cosmetic Formulators
onGetting started with DIY cosmetic formulation can feel exciting—and a bit overwhelming. Ingredients tend to get all the attention, but the tools you use are just as important. The good news is that you don’t need a full lab to begin. Most of the essential equipment is simple, affordable, and sometimes already in your kitchen.
This guide covers the core tools you actually need to start formulating safely and effectively.
1. The Scale: your most important tool
If there is one piece of equipment worth getting right from the beginning, it’s your scale.
Formulation is all about precision. Even small errors can completely change a texture, stability, or performance.
For beginners, I’d recommend:
- A digital scale with at least 0.1 g precision (Ideally 0.01 g if you want small batches)
- A stable platform (avoid very cheap, unstable models if possible)
A small but important tip: start with small batch sizes. A good scale allows you to experiment without wasting ingredients, which makes learning much less stressful and much more fun.
Personally, I’ve found that upgrading the scale early is worth it. Cheap ones tend to drift or break quickly, while a slightly better one often lasts for years.
2. Mixing tools: simple but essential
You don’t need anything sophisticated here, just tools that feel comfortable and reliable.
A basic setup usually includes:
- Silicone spatulas (honestly, the most useful tool in the studio)
- A few small whisks for emulsions and lighter textures
- Spoons (thrifted or repurposed kitchen ones work perfectly)
- Optional: glass rods for a more “lab-like” workflow
If I had to start over, I’d focus on just good spatulas and a couple of whisks. Fancy lab tools are nice later, but not necessary at the beginning.
3. Heat-resistant glassware.
Most formulations require melting or heating ingredients together before combining phases.
The most practical options are:
- Pyrex-style measuring cups (250–500 mL are ideal starting sizes)
- Small beakers if you prefer a lighter, more lab-style setup
Glass is preferred because it handles heat well, is easy to clean, and lets you clearly see what’s happening during heating or mixing.
A small personal tip: having 5-7 cups is usually enough to avoid constant washing mid-formulation.
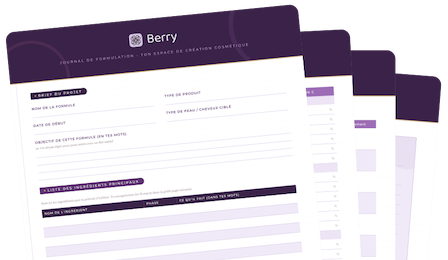
4. A notebook: your most underrated tool
This is the one beginners often ignore and later regret.
A formulation notebook is where everything lives:
- Recipes and percentages
- Observations during mixing
- Texture, smell, stability notes
- What worked and what didn’t
It doesn’t need to be fancy. A simple notebook works perfectly. What matters is consistency.
5. A water bath: simple, safe heating
You don’t need specialized heating equipment.
A basic pot or pan filled with water works as a perfectly effective water bath. You simply place your glass containers inside and let them heat gently.
It’s one of those simple setups that does the job better than other complicated alternatives.
6. Pipettes and small dosing tools
Pipettes are not for measuring, they are for precision dispensing.
They’re especially useful for:
- Essential oils
- Fragrance oils
- Preservatives
- Actives used in very small percentages
They help avoid over-pouring and make it easier to control low-dose ingredients. Basic plastic pipettes are enough when starting out.
You can find the The perfect pipette for DIY cosmetics on our shop
7. Safety basics: gloves and powder protection
Even simple formulations involve concentrated ingredients, so basic protection is important.
- Nitrile gloves help prevent irritation and contamination
- A dust mask becomes useful when working with powders like clays or pigments
These are not complicated tools, but they make the process cleaner, safer and more comfortable too.
8. pH tools: strips or meter
If you work with water-based formulations, pH matters—especially when using preservatives.
You have two options:
- pH strips: simple, affordable, good for beginners
- pH meter: more precise, better for advanced work
There’s no need to rush into a meter. Many formulators start with strips and only upgrade when they begin working with more sensitive ingredients.
9. Immersion blender: your first real upgrade
Once you move into emulsions (creams, lotions, body butters), an immersion blender becomes essential.
It’s what allows oil and water phases to properly combine into a stable product.
A few things that matter in practice:
- A smaller blending head is easier for small batches
- Detachable heads make cleaning much easier
This is one of the first tools where investing a bit more genuinely improves your experience.
10. Optional tools that become useful over time
hese are not essential on day one, but often find their way into your setup:
Coffee grinder → for powders, botanicals, pigments Electric beaters → whipped textures like body butters Thermometer → useful for temperature-sensitive ingredients
These tools are more about expanding possibilities than starting basics.
Join our DIY news
Join our community and receive my Formulation Journal as a gift, the essential tool for documenting, comparing, and perfecting your DIY skincare products.