Best Practices for Making Homemade Cosmetics
onBefore You Start: Prepare a Clean Environment
Successful DIY cosmetics begin long before mixing ingredients. Just like in cooking or in a laboratory, hygiene is essential to avoid contamination.
Before each preparation:
- Wash your hands thoroughly and dry them with a clean towel.
- Tie back your hair and remove jewelry.
- Clean and disinfect your workspace.
- Prepare all your ingredients and check their expiration dates.
- Wear clean clothing and, if possible, gloves or a lab coat.
Properly Disinfecting Your Equipment
The utensils, containers, and accessories used to make homemade cosmetics must be perfectly clean.
Two methods are commonly used:
Sterilization with Boiling Water
This method is mainly suitable for glass and heat-resistant materials.
Simply:
- Place the utensils in boiling water for 5 to 15 minutes.
- Remove them with clean tongs.
- Let them air dry on a clean cloth.
Disinfection with Alcohol
For plastic, pumps, and more delicate accessories, alcohol is preferable.
- Use alcohol with at least 60% or 90% alcohol content.
- Spray or apply the alcohol onto the equipment using a clean cloth.
- Allow it to dry completely before use.
Your workspace, pipettes, whisks, bowls, and containers should all be disinfected.
Choosing Simple and Suitable Recipes
When starting out, it is best to choose simple recipes with only a few ingredients. Adding more active ingredients does not necessarily improve a product’s effectiveness, but it does increase the risk of mistakes or instability.
The easiest formulas are often:
- balms,
- body oils,
- lip balms,
- simple lotions,
- body butters.
Emulsions containing water (creams, lotions, shampoos) require more precautions because they are more sensitive to microbial growth.
Always follow the quantities and measurements indicated in the recipe. Precision is important in homemade cosmetics.
Preservatives: An Essential Step
As soon as a preparation contains water, hydrosols, or aloe vera gel, adding a preservative becomes essential.
Without preservatives, bacteria, yeast, and mold can quickly develop, even if the product still appears normal.
Some good practices include:
- Adding a preservative suitable for water-based preparations.
- Adding vitamin E to oil-rich preparations to help prevent rancidity.
- Making small batches so products are used quickly.
At the slightest unusual smell, appearance of mold, or change in texture or color, the preparation should be discarded.
The Importance of Labeling and Traceability
Even at home, it is important to keep track of your preparations.
Each product should include:
- the name of the preparation,
- the list of ingredients,
- the manufacturing date,
- the shelf life or expiration date,
- any usage precautions.
Keeping a small traceability notebook can also be useful. It allows you to record:
- the ingredients used,
- their quantities,
- batch numbers,
- adjustments made during formulation.
This makes it easier to identify an ingredient in case of a skin reaction or stability issue.
Properly Storing Homemade Cosmetics
DIY cosmetics generally have a shorter shelf life than industrial products.
To extend their lifespan:
- Store them away from light and heat.
- Prefer pump bottles or containers that limit contact with fingers.
- Use clean spatulas if the product is stored in a jar.
As a general rule, homemade preparations should be made in small quantities to guarantee freshness.
Testing Your Preparation Before Use
Before using a new cosmetic product on the face or body, it is recommended to perform a patch test.
Apply a small amount of the product inside the elbow or on the inner wrist, then wait 48 hours to check for any reaction:
- redness,
- itching,
- burning sensation,
- irritation.
This step is especially important when using essential oils or concentrated active ingredients.
Sources :
- De Vallière, C. (2023). Cosmétiques DIY, les conseils indispensables de l’équipe officinale.
- Fédération des Entreprises de la Beauté (FEBEA). (2017). La cosmétique maison, pas si simple ! Available at: https://www.febea.fr/actualites/la-cosmetique-maison-pas-si-simple
Join our DIY news
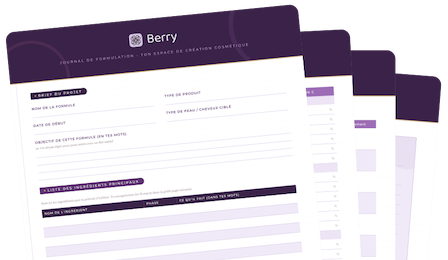
Join our community and receive my Formulation Journal as a gift, the essential tool for documenting, comparing, and perfecting your DIY skincare products.